
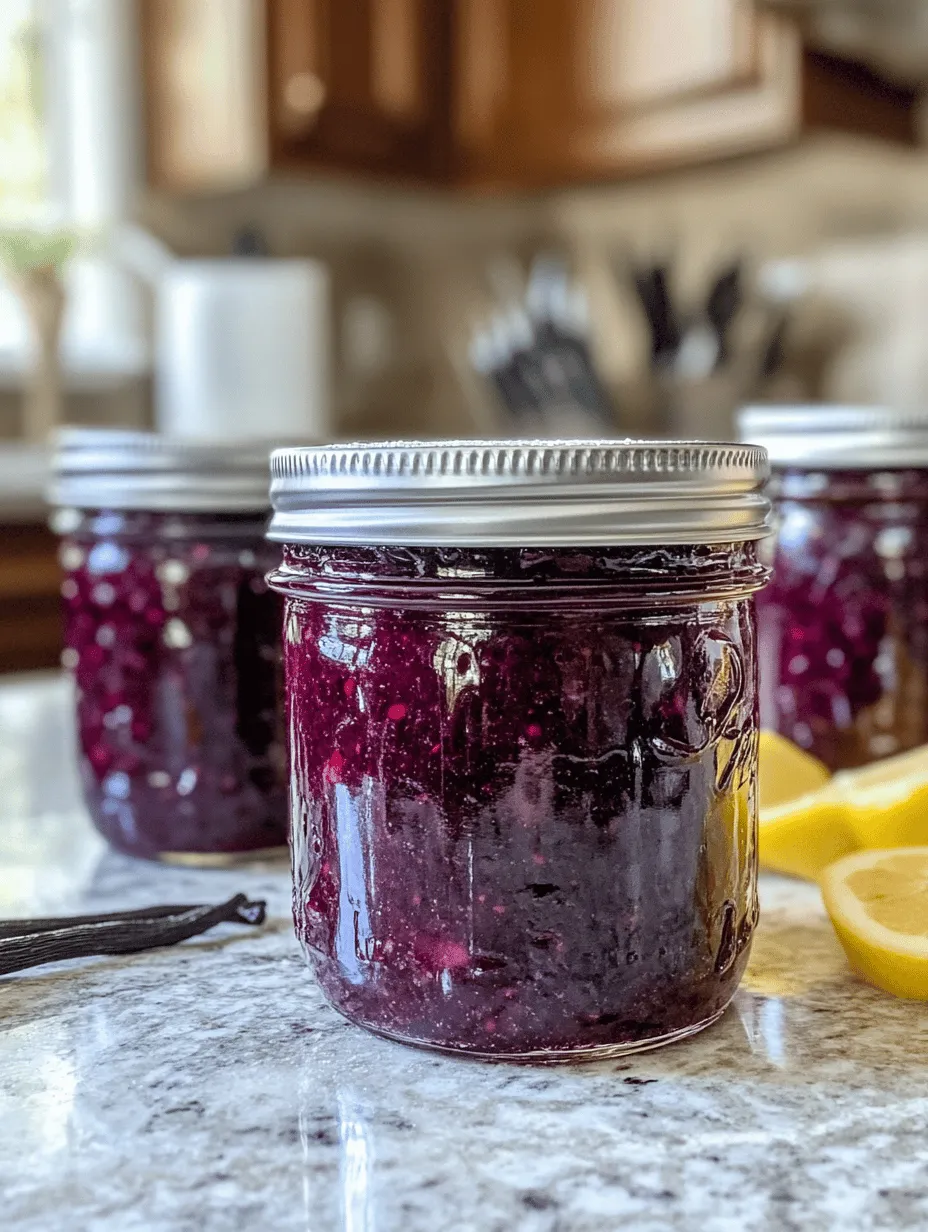
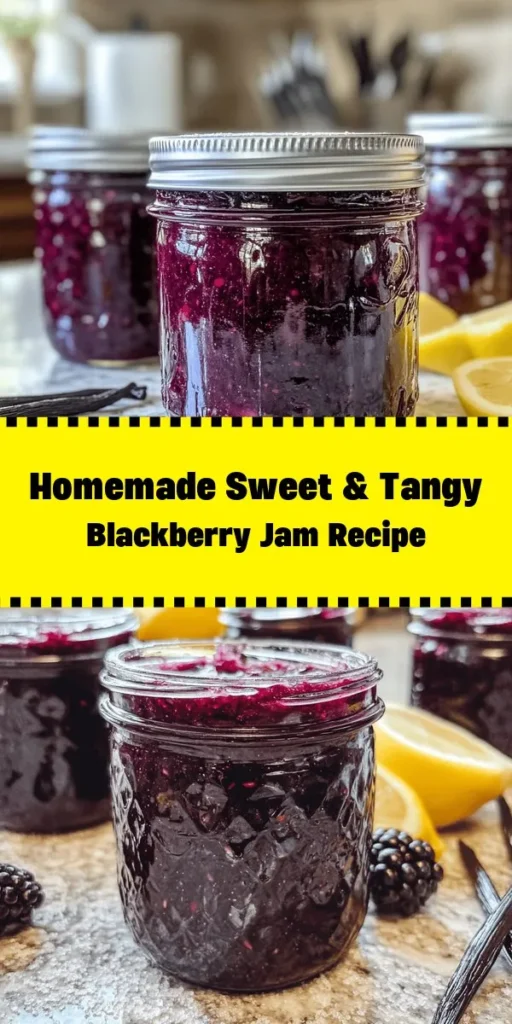
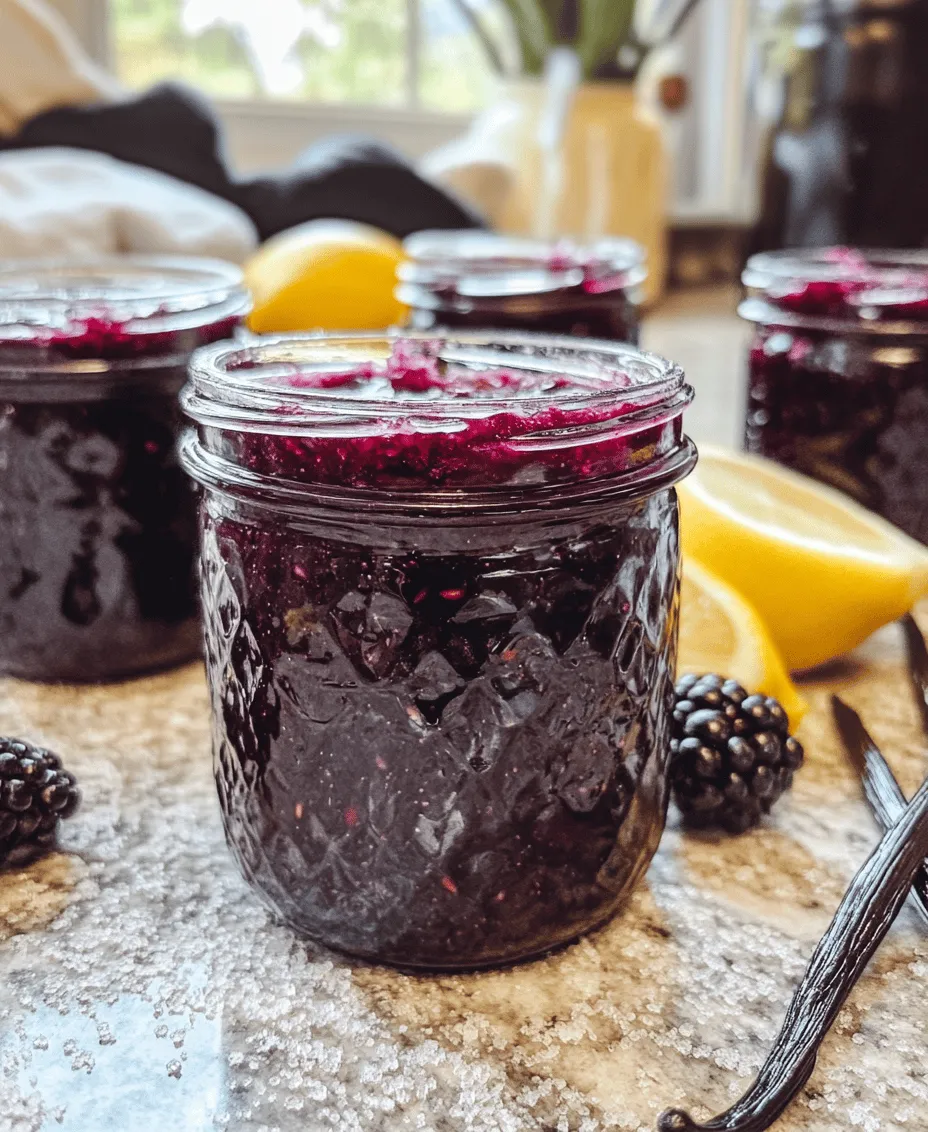
In a world filled with store-bought spreads, nothing compares to the rich, vibrant flavor of homemade jam. The art of jam making not only connects us to the simple pleasures of cooking but also allows us to customize flavors to our liking. Among the various fruit preserves, Sweet & Tangy Blackberry Bliss Jam stands out for its delightful balance of sweetness and tartness. This easy-to-follow recipe captures the essence of fresh blackberries, infusing them with hints of lemon and vanilla. Whether you enjoy it on toast, in desserts, or as a topping for your favorite dishes, this jam is sure to elevate your culinary experience.
As we delve into the details of making this delicious jam, we will cover everything from ingredients to the canning process, ensuring you can create your own batch of Blackberry Bliss Jam with confidence.
Understanding the Ingredients
Exploring the Role of Fresh Blackberries
Blackberries are the star ingredient of this jam, bringing not only a beautiful dark hue but also a bounty of nutritional benefits. These berries are rich in vitamins C and K, fiber, and antioxidants, making them a wholesome choice for your homemade preserves. Their natural sweetness is accompanied by a slight tartness, which creates a dynamic flavor profile that is both refreshing and satisfying.
When selecting blackberries for this recipe, it’s best to choose fresh, plump berries that are in season. Typically, blackberries are at their peak from late summer to early fall. However, frozen blackberries can also be used if fresh ones are unavailable, making this recipe versatile throughout the year.
The Importance of Sugar in Jam Making
Sugar plays a crucial role in the jam-making process beyond simply sweetening the mixture. It acts as a preservative, helping to inhibit the growth of microorganisms that can spoil the jam. Additionally, sugar contributes to the gel-like consistency of the jam when combined with pectin. The balance of sweetness and tartness is also essential; too much sugar can overpower the natural flavors of the fruit, while too little can result in a jam that is overly tangy or does not set properly.
For this recipe, granulated sugar will do the trick, but you can also experiment with alternatives like brown sugar or honey for a unique flavor profile.
The Function of Lemon Juice and Vanilla Extract
Incorporating lemon juice into the jam is not just for flavor; it also adds acidity, which helps to balance the sweetness of the sugar and enhances the overall taste of the jam. The acidity from the lemon juice also aids in the gelling process by activating the pectin.
Vanilla extract, while not a traditional ingredient in all jam recipes, adds a depth of flavor that pairs beautifully with blackberries. Its warm, sweet notes complement the fruity tartness, creating a deliciously complex jam that’s more than just a simple spread.
The Role of Pectin
Pectin is a natural thickening agent found in fruits that is essential for achieving the right consistency in jams and jellies. It helps the mixture gel, ensuring that your Blackberry Bliss Jam has the perfect spreadable texture.
There are two main types of pectin: liquid and powdered. Liquid pectin is typically added towards the end of cooking, while powdered pectin is mixed in at the beginning. For this recipe, we will use powdered pectin, which binds with the sugars and acids in the fruit mixture to create that luscious jam texture we all love.
Preparing for Jam Making
Essential Kitchen Tools and Equipment
Before you begin the jam-making process, it’s essential to gather all the necessary kitchen tools and equipment. Here’s a list of what you’ll need:
– Large pot: A heavy-bottomed pot is ideal for cooking the jam, as it distributes heat evenly and prevents scorching.
– Wooden spoon: For stirring the mixture and ensuring even cooking.
– Ladle: For pouring the jam into jars.
– Canning jars: Ensure you have sterilized jars with tight-fitting lids to store your jam. You can use pint or half-pint jars, depending on your preference.
– Candy thermometer: To check the temperature of the jam and ensure it reaches the correct consistency.
– Funnel: A canning funnel can help to avoid spills when pouring the jam into jars.
Cleanliness is paramount in jam preparation, so ensure that all equipment is thoroughly washed and sterilized. This will help prevent any unwanted bacteria from spoiling your jam.
Understanding the Jam Making Process
Making jam can seem daunting, but breaking it down into clear steps can make the process manageable and enjoyable. Here’s an overview of the essential steps involved in making Sweet & Tangy Blackberry Bliss Jam:
1. Preparing the Blackberries: This involves washing and crushing the berries to release their juices.
2. Cooking the Mixture: Combine the blackberries, sugar, pectin, and lemon juice in a pot and cook until bubbling.
3. Testing for Doneness: Check the temperature of the mixture to ensure it has reached the right consistency.
4. Canning the Jam: Pour the hot jam into sterilized jars, seal them, and process them in a water bath to ensure they’re shelf-stable.
To improve efficiency, have all your ingredients pre-measured and ready to go before you start cooking. This preparation will streamline the process and help you focus on mastering the art of jam making.
Step-by-Step Instructions for Sweet & Tangy Blackberry Bliss Jam
Preparing the Blackberries
The first step in creating your Sweet & Tangy Blackberry Bliss Jam is to prepare the blackberries. Rinse them gently under cool running water to remove any dirt or impurities. It’s important to handle them delicately, as blackberries can bruise easily.
Once washed, you’ll want to crush the blackberries to release their juices. You can do this using a potato masher, a fork, or by placing them in a food processor for a quick pulse. The goal is to achieve a mixture that still has some texture, so avoid over-pureeing. If you prefer a chunkier jam, you can leave some whole berries intact for added visual appeal and bite.
Importance of Rinsing and Cleaning
Rinsing the blackberries is crucial for both flavor and safety. Fresh berries can harbor pesticides and contaminants, which can affect the taste of your jam. By rinsing them thoroughly, you ensure that your final product is not only delicious but safe to consume. Additionally, maintaining cleanliness throughout the jam-making process will prevent spoilage and ensure a longer shelf life for your jam.
As we continue with this recipe, we will dive deeper into the cooking process, including how to combine the ingredients effectively, test for doneness, and can your delicious Sweet & Tangy Blackberry Bliss Jam for enjoyment throughout the year.
Cooking the Fruit Mixture
To begin making your Sweet & Tangy Blackberry Bliss Jam, the first step is to cook the fruit mixture properly. This is crucial for achieving the right consistency and flavor. Start by combining your prepared blackberries and lemon juice in a large pot over medium heat. As the mixture heats up, it will start to break down and release its natural juices.
Achieving the Right Consistency Through Cooking
As the blackberries cook, you’ll want to monitor the consistency. Initially, the mixture will be quite watery, but after about 10-15 minutes, the fruit will soften significantly. Use a potato masher or a wooden spoon to mash the berries gently; this will help release more juice and create a smoother texture. The goal is to cook the mixture until it reaches a syrup-like consistency before proceeding to the next steps.
Tips for Monitoring Heat and Stirring
It’s essential to keep the heat at a steady medium and stir the mixture regularly to prevent it from sticking to the bottom of the pot. If you notice any sticking or burning, reduce the heat slightly. The stirring also helps in breaking down the fruit further, ensuring a more uniform texture in the final jam. Patience is key here; don’t rush this step.
Incorporating Sugar and Pectin
Once you’ve achieved the right consistency with your blackberry mixture, it’s time to add sugar and pectin to help it set.
Techniques for Dissolving Sugar Effectively
Begin by gradually adding the sugar to the fruit mixture. It’s best to add it in batches, stirring continuously to ensure that the sugar dissolves completely. This gradual incorporation helps to prevent the sugar from clumping and ensures a smoother jam.
Achieving the Rolling Boil Necessary for Setting
After the sugar has dissolved, increase the heat to bring the mixture to a rolling boil. A rolling boil means that the mixture is boiling vigorously, and you can’t stir it down. This stage is crucial as it activates the pectin, which is responsible for thickening the jam. You’ll want to maintain this rolling boil for at least one minute, stirring constantly to avoid scorching.
Boiling and Adding Flavors
The boiling process not only activates the pectin but also enhances the flavors of your jam.
The Significance of the One-Minute Boil
The one-minute boil is essential for ensuring that your jam sets properly. If you don’t boil it long enough, your jam may not thicken as expected, resulting in a runny texture.
How to Incorporate Vanilla Extract for Flavor Enhancement
After achieving a rolling boil for one minute, remove the pot from the heat. This is the perfect moment to add a splash of vanilla extract for an extra layer of flavor. The warmth of the mixture will help the vanilla infuse throughout the jam. Simply stir it in and give it a moment to meld before moving on.
Testing for Consistency
Once your jam mixture is ready, it’s time to test its consistency.
Methods for Testing Jam Readiness
A simple method to check if your jam is set is the “plate test.” Take a plate and place it in the freezer for a few minutes. Then, drop a spoonful of the jam onto the cold plate and return it to the freezer for about 1 minute. After that, run your finger through the jam; if it holds its shape and doesn’t flood back together, it’s ready for jarring.
Adjusting Consistency if Needed
If the jam is still too runny, return it to the heat and boil again for a few more minutes, then retest. If you find it’s too thick, you can add a small amount of water to loosen it. Just remember to stir well to incorporate any additional liquid.
Jarring and Canning the Jam
Now that your jam is at the perfect consistency, it’s time to jar and can it.
Step-by-Step Jar Preparation
Before jarring, ensure your jars are properly sterilized. You can do this by placing them in a boiling water bath for 10 minutes or running them through a hot cycle in the dishwasher. Once sterilized, keep them hot until ready to fill to prevent cracking.
Importance of Headspace and Sealing Jars Properly
When filling your jars, leave about a quarter-inch of headspace at the top. This space is essential for the jam to expand during processing without overflowing. After filling, wipe the rims of the jars with a clean cloth to ensure a proper seal. Place the lids on and screw the rings on until they’re fingertip-tight—this will allow steam to escape during processing while ensuring the jars are sealed.
Processing for Shelf Life
To ensure your jam lasts for months, you’ll need to process it properly.
Overview of the Boiling Water Bath Method
The boiling water bath method is a safe and effective way to process your jars. Place your filled jars in a canning pot, ensuring they’re covered by at least an inch of water. Bring the water to a full boil and process for 10 minutes (adjusting for altitude if necessary). Once done, carefully remove the jars and let them cool on a clean towel or wire rack.
Benefits of Processing Jars for Preservation
Processing your jars not only ensures that they’re sealed properly but also helps to kill any bacteria that could spoil your jam, extending its shelf life. Once the jars cool, check the seals by pressing down in the center of the lid; it should not pop back. If it does, refrigerate that jar and consume it within a few weeks.
Storing and Enjoying Your Blackberry Bliss Jam
With your Sweet & Tangy Blackberry Bliss Jam safely processed, it’s time to think about storage and enjoyment.
Best Practices for Storing Jam
Store your jam in a cool, dark place, such as a pantry or cupboard. The ideal temperature is between 50-70°F. Properly processed, sealed jars can last up to a year. Always label your jars with the date to keep track of their freshness.
Signs of Spoilage to Watch For
While homemade jam has a long shelf life, it’s essential to check for signs of spoilage. If you notice any off-smells, mold, or a bulging lid, discard the jam. When opened, consume it within a few weeks and refrigerate any leftovers.
Ways to Enjoy Your Jam
Your Sweet & Tangy Blackberry Bliss Jam is incredibly versatile and can be enjoyed in numerous ways beyond simply spreading it on toast.
Culinary Uses Beyond Spreading on Toast
Use your jam as a filling for pastries, a topping for yogurt or ice cream, or even as a glaze for meats. It can add a delightful sweetness to savory dishes, enhancing the complexity of flavors.
Pairing Suggestions with Foods and Beverages
Pair your jam with cheeses for a delightful charcuterie board, or mix it into cocktails for a fruity twist. It complements both sweet and savory accompaniments, making it a perfect addition to your culinary repertoire.
Conclusion: The Reward of Homemade Sweet & Tangy Blackberry Bliss Jam
Crafting your own Sweet & Tangy Blackberry Bliss Jam is not just about preserving fruit; it’s about creating a delicious, versatile product that brings joy to your meals and snacks. With simple ingredients and straightforward steps, you can enjoy the satisfaction of homemade jam while savoring the flavors of fresh blackberries. The experience of making this jam can be shared with family and friends, inviting them into a delicious tradition that celebrates the beauty of homemade food. Whether you’re enjoying it yourself or gifting it to loved ones, this blackberry jam is sure to bring a smile to everyone’s face. So gather your ingredients, follow these steps, and relish the sweet reward of your homemade creation.
