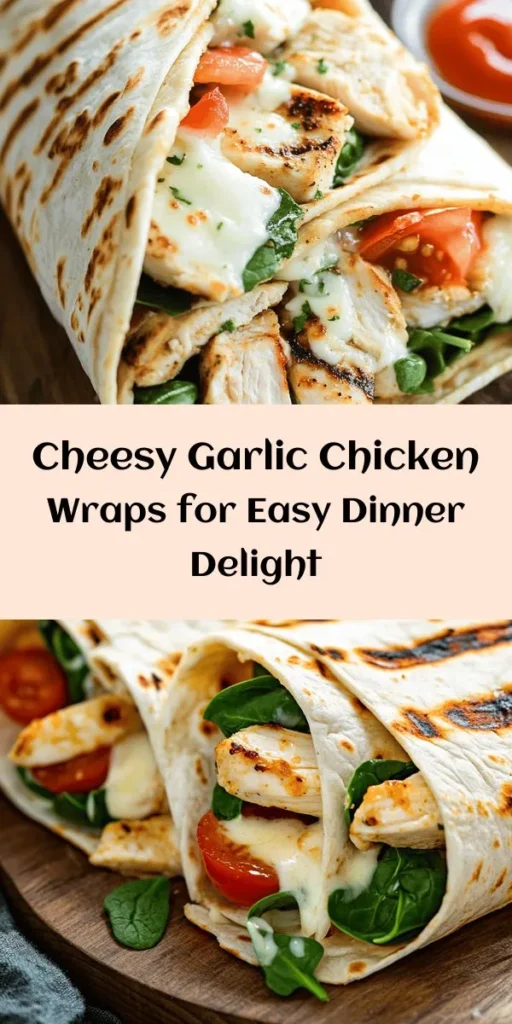
Introduction
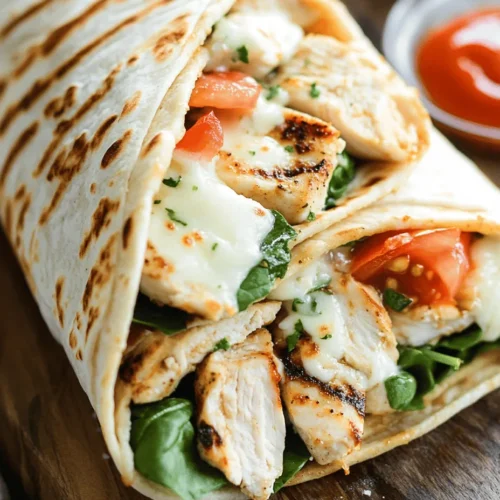
If you’re seeking a dish that combines bold flavors with satisfying textures, look no further than the delightful cheesy garlic chicken wraps. This recipe marries tender chicken breasts marinated in rich garlic butter with a medley of fresh vegetables and melted cheeses, all enveloped in a soft tortilla. Ideal for a quick weeknight dinner, a crowd-pleasing lunch, or even an outdoor picnic, these wraps promise to be a hit on any occasion.
The appeal of cheesy garlic chicken wraps lies in their simplicity and versatility. They provide an excellent base for customization, allowing you to tailor the fillings to suit your personal taste or dietary preferences. Imagine biting into a warm wrap, where the savory garlic flavor of the chicken perfectly complements the creamy richness of the cheese, all while the crunch of fresh veggies adds an extra layer of texture. It’s no wonder that this dish has gained popularity among home cooks and food enthusiasts alike.
Understanding the Ingredients
When it comes to crafting the perfect cheesy garlic chicken wraps, the quality of your ingredients can make all the difference. Fresh, high-quality components not only enhance the flavor but also elevate the overall dining experience. Let’s take a closer look at the main ingredients you’ll need for this recipe:
Chicken Breasts
The star of our wraps is undoubtedly the chicken breasts. Opt for boneless, skinless chicken breasts for ease of preparation and a lean source of protein. Chicken breasts cook quickly and absorb flavors well, making them ideal for marination and baking.
Garlic Butter
Garlic butter serves as the foundation of flavor in this recipe. It infuses the chicken with a rich, aromatic taste that pairs perfectly with the melted cheese. To prepare garlic butter, simply combine softened butter with minced garlic and fresh herbs. This mixture not only enhances the chicken but can also be used as a drizzle over the finished wraps for an extra burst of flavor.
Cheeses
A selection of cheeses is crucial to achieving that gooey, cheesy goodness that makes these wraps irresistible. Cheddar cheese offers a sharp, tangy flavor, while mozzarella provides a stretchy, creamy texture. Feel free to experiment with other cheeses such as Monterey Jack or Pepper Jack for added flavor and spice.
Tortillas
For the wraps, you can choose between flour or whole wheat tortillas, depending on your preference. Flour tortillas are soft and pliable, making them easy to roll and fold around the fillings. Whole wheat tortillas offer a nutty flavor and added fiber, making them a healthier alternative.
Fresh Vegetables
Incorporating fresh vegetables not only boosts the nutritional value of your wraps but also adds color and crunch. Spinach, tomatoes, and bell peppers are excellent choices that pair well with the other ingredients. They add freshness and balance the richness of the cheese and chicken.
Spices: Paprika and Italian Seasoning
To elevate the flavor profile of your cheesy garlic chicken wraps, we’ll be using paprika and Italian seasoning. Paprika adds a subtle smokiness and a beautiful color, while Italian seasoning, typically a blend of dried herbs like basil, oregano, and thyme, brings a Mediterranean flair that complements the garlic and cheese beautifully.
Preparation of Cheesy Garlic Chicken Wraps
Now that we have a clear understanding of the ingredients, let’s dive into the preparation process. The following steps outline how to create cheesy garlic chicken wraps that are bursting with flavor and sure to impress.
Step 1: Preparing the Chicken
The first step in our preparation involves marinating the chicken breasts in garlic butter. This step is crucial for infusing the chicken with flavor, ensuring each bite is deliciously garlicky. Here’s how to do it:
– Make the Garlic Butter: In a small bowl, mix softened butter with minced garlic and a pinch of salt. You can also add some freshly chopped herbs like parsley or cilantro for additional flavor.
– Marinate the Chicken: Place the chicken breasts in a shallow dish or a resealable plastic bag. Pour the garlic butter mixture over the chicken, ensuring each piece is well-coated. Allow the chicken to marinate for at least 30 minutes; however, for best results, marinate it in the refrigerator for several hours or overnight.
Step 2: Baking the Chicken
Once the chicken has marinated, it’s time to bake it to perfection. Baking allows the chicken to cook evenly and retain its juiciness. Follow these steps for optimal results:
– Preheat the Oven: Preheat your oven to 375°F (190°C). This temperature provides a nice balance that allows the chicken to cook through without drying out.
– Bake the Chicken: Place the marinated chicken breasts on a baking sheet lined with parchment paper or aluminum foil for easy cleanup. Bake for 25 to 30 minutes, or until the chicken reaches an internal temperature of 165°F (75°C). The baking time may vary depending on the thickness of the chicken breasts, so be sure to check for doneness.
– Let It Rest: Once baked, remove the chicken from the oven and let it rest for about 5 to 10 minutes. Resting is a crucial step, as it allows the juices to redistribute throughout the meat, ensuring that your chicken remains moist and tender.
Step 3: Assembling the Wraps
With your garlic butter chicken perfectly baked and rested, it’s time to assemble your cheesy garlic chicken wraps. The layering of ingredients is key to achieving the perfect bite.
– Slice the Chicken: Begin by slicing the baked chicken breasts into thin strips. This makes it easier to layer within the wraps and ensures that each piece is coated with the flavors of garlic and butter.
– Prepare the Tortillas: Warm your tortillas slightly in a dry skillet or microwave for a few seconds to make them more pliable. This will help prevent them from tearing when you fold and roll them.
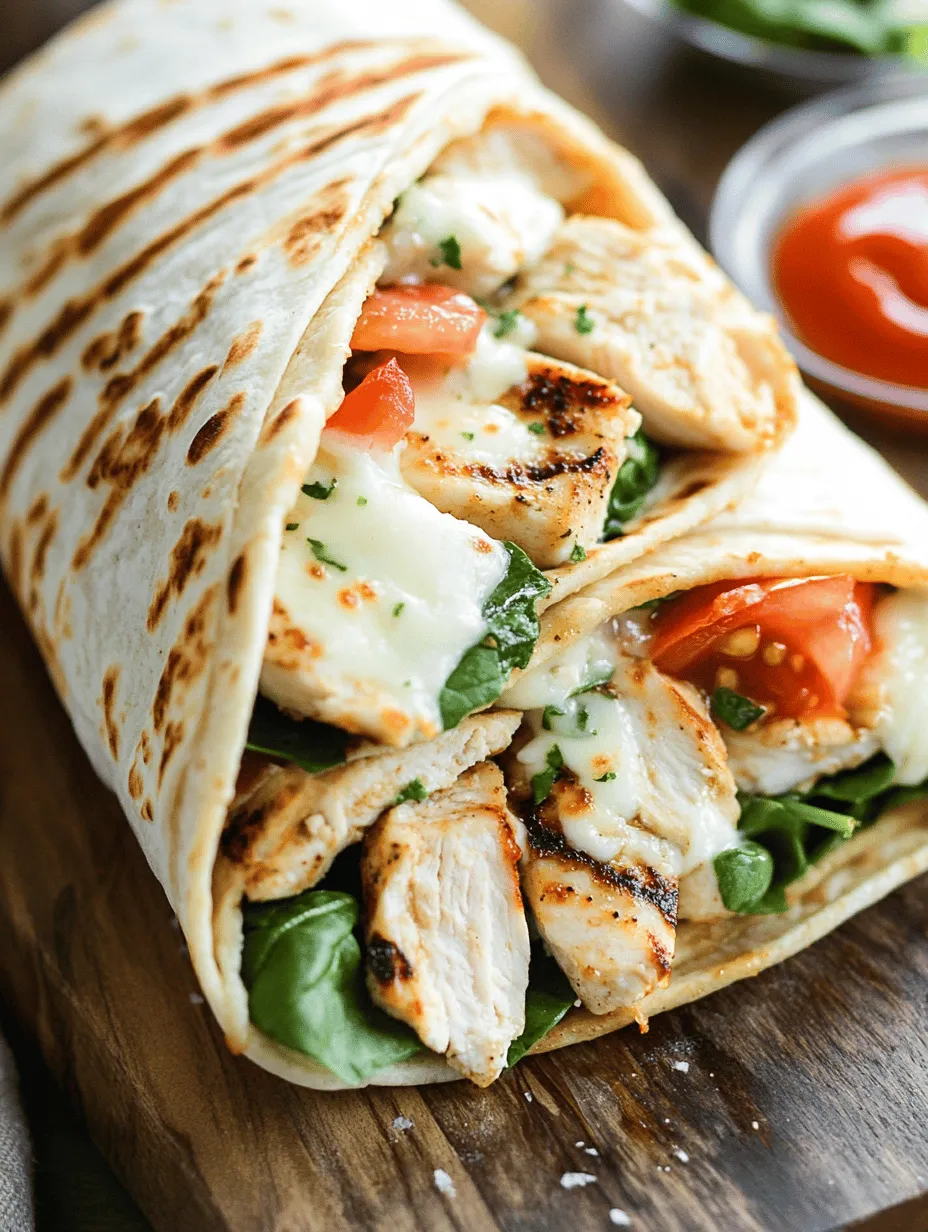
– Layering: Start by placing a generous portion of sliced chicken in the center of each tortilla. Follow with a sprinkle of your chosen cheeses, allowing them to melt from the heat of the chicken. Next, add a handful of fresh spinach and diced tomatoes for nutrition and crunch. You can also include other vegetables such as bell peppers or cucumbers for added variety.
Suggested Ratios
For each wrap, aim for about 4 to 6 ounces of chicken, a quarter cup of cheese, and a generous handful of vegetables. This balance ensures that each bite is flavorful and satisfying without overwhelming the tortilla.
Grilling the Wraps
Once your wraps are assembled, grilling them adds an extra layer of flavor and texture. Grilling helps to crisp the tortilla and meld the flavors together beautifully.
– Heat the Grill: Preheat your grill or grill pan over medium heat. If you don’t have a grill, you can use a skillet on the stove.
– Grill the Wraps: Place the assembled wraps seam-side down on the grill. Grill for about 3 to 4 minutes on each side, or until the tortillas are golden brown and crispy, and the cheese is melted and gooey.
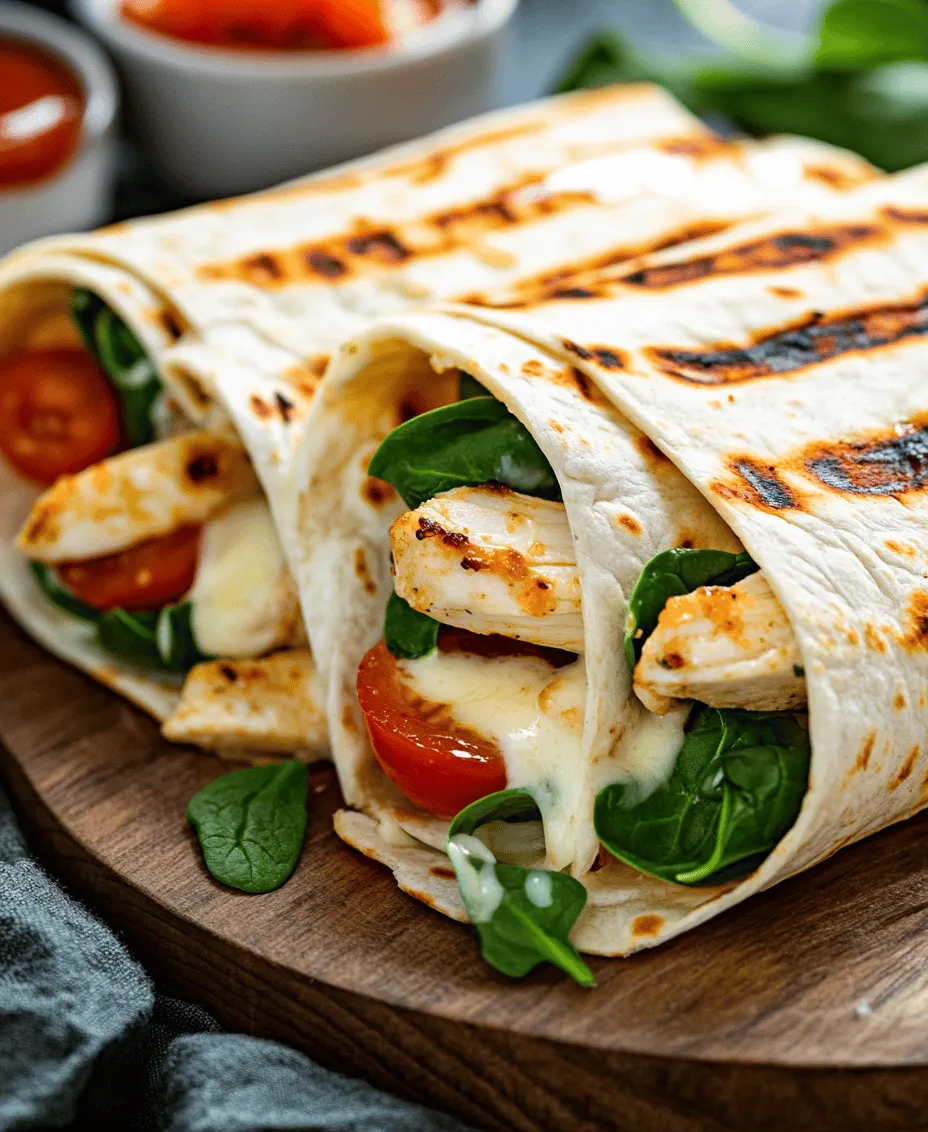
– Serve: Remove the wraps from the grill, slice them in half diagonally, and serve warm, perhaps with a side of dipping sauce or a light salad for a complete meal.
With these steps, you will have delicious cheesy garlic chicken wraps ready to enjoy. They are not only easy to prepare but also a fantastic way to bring together wholesome ingredients for an impressive yet simple dish.
Techniques for Achieving the Perfect Golden-Brown Exterior
When it comes to creating mouthwatering cheesy garlic chicken wraps, achieving that perfect golden-brown exterior is key to not only enhancing visual appeal but also contributing to the overall flavor profile. Here are some essential techniques to ensure your wraps come out beautifully crispy and golden:
1. Preheat Your Cooking Surface: Whether you’re using a grill or a skillet, preheating is crucial. For grilling, heat your grill to medium-high before placing the wraps on it. If you’re pan-frying, allow your skillet to get hot enough that a drop of water sizzles when it hits the surface.
2. Use Adequate Oil: A light coating of oil can work wonders in achieving that desired crispness. If grilling, brush the wraps lightly with olive oil or your oil of choice. For pan-frying, add just enough oil to coat the bottom of the skillet without drowning the wraps.
3. Don’t Overcrowd the Pan: If you’re cooking multiple wraps at once in a skillet, ensure there is enough space between them. Overcrowding can lead to steaming rather than browning. If necessary, cook in batches to ensure each wrap gets the proper heat exposure.
4. Press Down Gently: While cooking, gently press down on the wraps with a spatula. This helps them make better contact with the cooking surface, promoting even browning and crispiness.
5. Monitor Cooking Time: Cooking time will vary depending on your heat source and the thickness of your wraps. Keep a close eye on them, turning them once they achieve a nice golden hue. Typically, each side will take around 3-4 minutes on medium heat.
Benefits of Grilling Versus Pan-Frying Wraps
Both grilling and pan-frying have their unique advantages when it comes to preparing cheesy garlic chicken wraps.
– Grilling: Grilling imparts a smoky flavor that enhances the overall taste of the wraps. The high heat allows for a quick cooking time while creating beautiful grill marks, which add to the visual appeal. Additionally, excess fat drips away during grilling, making it a slightly healthier option.
– Pan-Frying: On the other hand, pan-frying allows for more control over the cooking process. It’s easier to achieve a consistently golden-brown exterior, and you can adjust the heat as necessary. The oil used in pan-frying can also contribute to a richer flavor, especially if you use infused oils.
How to Determine When the Wraps Are Done Cooking
Knowing when your cheesy garlic chicken wraps are perfectly cooked is essential for a satisfying meal. Here are a few indicators to look for:
1. Color: A nice golden-brown color on both sides is a reliable sign that your wraps are ready. Use a spatula to lift and check the underside if needed.
2. Texture: Gently press down on the wraps; they should feel firm to the touch. A soft or squishy wrap indicates that it may need more time to cook.
3. Internal Temperature: If you’re concerned about doneness, especially with chicken, use a meat thermometer. The internal temperature of cooked chicken should reach at least 165°F (75°C).
4. Cheese Melting: If you see the cheese oozing out slightly from the sides, that’s a good sign that it’s melted and the wraps are ready to be served.
Serving Suggestions
Presentation can elevate your cheesy garlic chicken wraps from simple to spectacular. Here are some ideas to enhance the visual appeal of your meal:
– Plating Tips: Serve your wraps cut in half diagonally, showcasing the colorful filling. Arrange them neatly on a plate, perhaps with a sprinkle of fresh herbs like parsley or cilantro for color. Consider using a contrasting color plate to make the wraps pop.
– Optional Additions: Enhance flavor with a drizzle of hot sauce or a dollop of sour cream or yogurt. These add an extra layer of flavor that can complement the cheesy garlic goodness.
– Pairing Suggestions: For drinks, consider serving your wraps with a refreshing iced tea or lemonade. If you prefer something with a kick, a light beer or a crisp white wine can balance the richness of the wraps. For sides, a simple green salad or some sweet potato fries can make for a well-rounded meal.
Nutritional Information
Understanding the nutritional value of your cheesy garlic chicken wraps can help you make informed choices. Here’s a breakdown of calories and macronutrients per serving (approximately one wrap):
– Calories: 450
– Protein: 30g
– Carbohydrates: 35g
– Fat: 20g
– Fiber: 3g
Health Benefits of Key Ingredients:
– Chicken: A fantastic source of lean protein, chicken aids in muscle repair and growth while keeping you satiated.
– Spinach: This leafy green is packed with vitamins A and C, iron, and antioxidants, contributing significantly to your daily nutrient intake.
– Garlic: Known for its immune-boosting properties, garlic also adds flavor without extra calories.
Portion Control: To make the dish healthier without sacrificing flavor, consider using smaller wraps or reducing cheese portions. You can also add more vegetables to increase fiber and nutrients while keeping calories in check.
Variations of Cheesy Garlic Chicken Wraps
One of the beautiful aspects of cheesy garlic chicken wraps is their versatility. Here are some variations you can try:
– Alternative Proteins: If you prefer turkey, it works beautifully in this recipe, providing a leaner option. For a plant-based alternative, consider using tofu or chickpeas, seasoned similarly to the chicken, for a satisfying vegetarian protein source.
– Gluten-Free Options: For those avoiding gluten, corn tortillas make an excellent substitute. They are naturally gluten-free and hold up well when filled and grilled. Alternatively, for a lighter option, wrap your filling in large lettuce leaves for a refreshing lettuce wrap.
– Vegetarian Version: Skip the chicken entirely and load your wrap with a variety of vegetables such as bell peppers, mushrooms, and zucchini, paired with an extra helping of cheese for a satisfying vegetarian dish.
Conclusion
Cheesy garlic chicken wraps deliver a delightful combination of flavors and textures, making them a versatile option for any meal. Whether you’re cooking for family or entertaining friends, these wraps are sure to impress. The ease of preparation means you can whip them up in no time, and their adaptability allows you to cater to various dietary preferences.
So why not give this recipe a try? With each bite, you’ll experience the gooeyness of melted cheese, the savory garlic, and the tender chicken, all wrapped in a crispy embrace. Embrace the joy of cooking and sharing this mouthwatering dish, and enjoy the deliciousness that cheesy garlic chicken wraps bring to your dining table.